
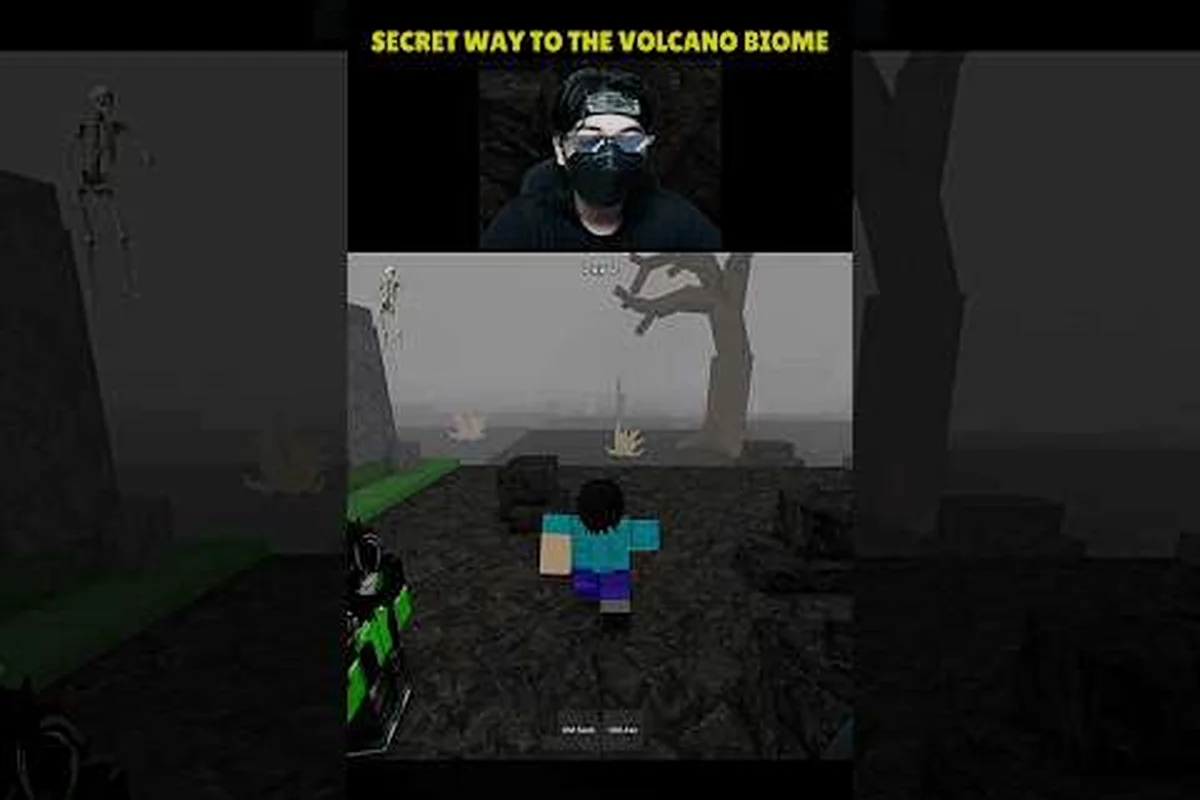
Finding the volcano in 99 Nights in the Forest is one of the most common early-game frustrations, because the map never hands you a glowing waypoint or a minimap marker. The lava biome sits in a fixed position relative to the spawn forest, but reaching it requires reading terrain cues that most new players sprint past during their first few nights. This guide breaks down the exact route, the landmarks that confirm you are heading the right way, and the biome rotation logic that determines when the volcano zone actually becomes worth visiting.
Reading the Forest Layout Before You Move
The forest in 99 Nights in the Forest is not a procedurally generated maze that reshuffles every run. The core layout stays consistent across sessions, which means players who memorize a handful of anchor structures can navigate to any biome without a compass. The spawn zone always places you near a dense tree line with a visible campfire clearing, and from that clearing the map extends outward in predictable directions.
The most reliable navigation method is to treat the Saw Mill as your primary orientation landmark. This structure appears on the forest edge in most runs, and its position relative to your spawn point tells you which quadrant you are standing in. Community reports consistently describe the saw mill as sitting between the default forest and the transitional zone that leads toward colder terrain, which makes it a natural first checkpoint for anyone asking where the volcano is located.
A practical approach is to climb any elevated terrain near spawn and scan for the following visual cues: the Saw Mill roof line can be used as a fixed reference point, since the volcano quadrant sits on the opposite side of its chimney stack in most biome rotations, and the transition strip toward the lava zone will show a gradual shift from dense green canopy to sparse, gray-green tree clusters before any smoke column becomes visible.
-
Distant smoke columns that rise in a straight vertical line indicate the volcano zone, not a campfire
-
Sparse, gray-green tree clusters mark the transition strip between forest and volcanic terrain
-
A visible temple silhouette on the horizon often sits along the route toward the volcano
-
Frosted ground patches signal you are drifting toward the snow biome instead of the lava zone
The key distinction is elevation. The volcano biome sits at a higher elevation than the forest floor, so any route that keeps you climbing gradually is usually correct. If the terrain flattens out and the air temperature cue shifts cold, you have likely wandered toward the snow biome, which occupies the opposite side of the map in most rotations.
The Biome Rotation System and Why the Volcano Moves
A common misconception is that the volcano physically relocates between sessions. In reality, the biome rotation system changes which zones are active and how aggressively their hazards scale, but the geographic positions remain fixed. Understanding this distinction saves players from wasting nights searching for a volcano that was never lost in the first place.
The rotation mechanic works on a cycle that refreshes environmental modifiers rather than map geometry. When players reference a biome refresher, they are describing the moment the game re-rolls which biomes receive boosted loot, increased monster density, or special event modifiers. The volcano zone always occupies the same corner of the map, but its difficulty and reward profile shifts depending on the current rotation state.
The table below summarizes how the rotation affects navigation priorities, but reading it correctly requires understanding what each state actually changes on the ground. In a Standard rotation, the volcano's smoke plume stays thin enough to spot from the saw mill ridge, and heat damage ticks at roughly 2–3 HP per second inside the caldera — manageable with mid-tier gear. During Active/Boosted windows, however, the same route becomes a race: ore nodes respawn faster, rare drops like obsidian shards and magma cores appear at higher rates, but the lava flows extend further into the approach path, cutting off the shortcut past the temple location. Suppressed rotations are the inverse — fewer hazards, thinner smoke, and slower node respawns, which makes them ideal for mapping the caldera layout without pressure. The key takeaway is that the volcano never moves; only the biome refresher re-rolls which of these three profiles is active, so checking the sky glow from the forest edge before committing to the trek saves a full night of walking.
| Rotation State | Volcano Indicator | Recommended Action |
|---|---|---|
| Standard | Normal smoke, baseline heat | Safe to explore with mid-tier gear |
| Active/Boosted | Dense smoke, orange sky glow | Farm ores and rare drops aggressively |
| Suppressed | Thin smoke, fewer lava flows | Good window for new players to learn routes |
| Event-modified | Colored sky tint, special mobs | Bring squad and heat-resist items |
Players who track the rotation can time their volcano trips to match boosted windows, which multiplies the value of every ore node and rare drop. The rotation also affects how quickly the snow biome becomes hostile, so learning to read both zones from the forest edge prevents wasted trips in either direction.
Step-by-Step Route From Spawn to the Volcano
The most consistent path to the volcano starts with orienting yourself at the spawn campfire and then moving toward the saw mill. According to the official Roblox page for 99 Nights in the Forest, the game world is designed around survival landmarks rather than explicit map markers, which means route memorization is the intended navigation skill.
The five-step sequence below is the most reliable way to reach the lava biome without a compass or map marker, because each landmark confirms the previous one before you commit to the next leg of the route. Players who skip ahead — for example, running straight from the saw mill toward what looks like dark soil — frequently misread the first transition strip and end up in the snow biome boundary instead, which sits on a parallel path with nearly identical tree thinning. Treat the temple location as a hard checkpoint: if you have not seen broken pillars within roughly two minutes of crossing the dark soil line, you have drifted too far right and should backtrack to the saw mill rather than pushing forward.
-
Step 1: From spawn, locate the Saw Mill structure and position it on your left shoulder
-
Step 2: Walk perpendicular to the saw mill's main entrance, keeping the tree line dense on your right
-
Step 3: Cross the first transition strip where trees thin out and the ground shifts from grass to dark soil
-
Step 4: Look for the temple location marker — a stone structure with broken pillars that sits before the final climb
-
Step 5: From the temple, follow the rising terrain path that curves left and leads into the volcanic basin
The temple is the most important confirmation point on this route. Players who reach the temple and then continue straight instead of curving left often end up at the snow biome boundary, which sits on a parallel path. The temple's orientation provides a natural compass: its main archway faces the volcano, while its collapsed rear wall points back toward the forest.
A faster but riskier route involves cutting through the Saw Mill interior and exiting through the back loading dock. This skips roughly two minutes of forest traversal but exposes you to the sawmill's threat rotation, which can include aggressive mobs during boosted windows. The sawmill structure guide covers the interior layout and threat patterns in detail for players who want to optimize this shortcut.
Distinguishing the Volcano Route From the Snow Biome Path
One of the most common navigation failures happens when players confuse the volcano route with the path to the snow biome. Both routes start from the same forest edge and both require crossing a transition zone, but the visual and environmental cues diverge sharply after the first checkpoint.
The table below compares the two routes side by side, focusing on the cues that matter most during the first two minutes after the saw mill checkpoint. Pay special attention to the ground texture and air temperature rows, because these are the earliest signals that appear before the landmark sequence diverges at the frozen pond versus the temple climb. Many players miss the cracked-soil transition because the dark volcanic dirt only becomes obvious once you cross the first elevation step, while the frosted grass on the snow biome path is visible almost immediately under the tree line.
| Navigation Cue | Volcano Route | Snow Biome Route |
|---|---|---|
| Ground texture | Dark, cracked soil | Pale, frosted grass |
| Air temperature cue | Rising heat shimmer | Dropping cold haze |
| Tree appearance | Sparse, charred trunks | Dense, snow-dusted pines |
| Landmark sequence | Saw mill → temple → climb | Saw mill → frozen pond → flat plain |
| Sky tint | Orange glow near horizon | Pale blue-white wash |
| Elevation change | Gradual upward climb | Mostly flat, slight descent |
Players who want to reach the snow biome should follow the frozen pond marker, which appears shortly after passing the saw mill on the opposite side. The snow biome spawn guide breaks down that route in full, including the exact pond position and the cabin cluster that confirms you are on the right path.
The elevation cue is the most reliable differentiator. The volcano route never stops climbing after the temple, while the snow biome path levels out and sometimes dips downward. If you have been walking for more than two minutes without a noticeable elevation gain, you are probably not heading toward the volcano.
What to Bring Before You Attempt the Volcano Route
Reaching the volcano is only half the challenge. The biome itself punishes unprepared players with heat damage, aggressive mobs, and terrain hazards that can end a run in seconds. Packing the right loadout before you leave the forest edge is the difference between a successful ore run and a respawn timer.
The following loadout table covers the essentials for a first-time volcano visit, but it is not a one-size-fits-all kit: your build should shift based on whether you are running a quick ore loop or a longer heat-modifier window. Players who reach the volcano via the biome rotation path often arrive with depleted consumables from the transition strip, so carrying at least one spare heat-resist food beyond the listed minimum prevents a forced retreat before the first Ram spawn. The table also assumes you have already unlocked the saw mill crafting tier, since the upgraded torch and mid-tier axe both require materials that are not available from the forest edge alone.
| Slot | Recommended Item | Why It Matters |
|---|---|---|
| Primary tool | Mid-tier axe or pickaxe | Faster ore harvesting in lava zones |
| Consumable | Heat-resist food or potion | Mitigates ambient heat damage |
| Light source | Upgraded torch or lantern | Visibility drops near lava flows |
| Defensive item | Shield or dodge-enhancing gear | Survives Ram charges and mob ambushes |
| Backup healing | Advanced bandage stack | Heat chip damage adds up quickly |
The Ram is the signature threat in the volcano biome, and its charge attack punishes players who stand still during combat. The Ram encounter guide details its attack patterns and dodge windows, which is essential reading before your first lava-zone expedition. Heat management is equally important: the ambient temperature drains health even when no enemies are nearby, so consumables that offset heat damage extend your farming window significantly.
Players who arrive without heat-resist items can still survive by hugging the biome's edge and retreating to the transition strip when health drops. This edge-farming strategy is slower but safe, and it works well during suppressed rotation windows when the heat modifier is less aggressive.
Optimizing Your Volcano Visits With Rotation Timing
Once you can reach the volcano reliably, the next layer of efficiency comes from timing your visits around the biome rotation cycle. The rotation determines not just hazard intensity but also loot quality, ore density, and the spawn rate of rare mobs that drop high-value crafting materials.
Experienced players track rotation changes through the biome refresher mechanic, which resets zone modifiers on a predictable schedule. Community data suggests the refresher triggers at fixed intervals rather than random moments, though the exact timing may vary by server. Players who log their rotation observations across multiple sessions can build a personal schedule that predicts when the volcano enters its boosted state.
The table below outlines a sample weekly rotation plan based on community-reported patterns: players who log their biome refresher observations note that the volcano's boosted state typically lasts between 18 and 24 in-game hours before cycling into a suppressed window, which means a seven-day rotation loop gives you roughly two full boosted sessions if you anchor your playtime to the refresher trigger. On servers where the saw mill and temple location sit close to the volcano's outer ridge, runners can chain a quick ore sweep into a temple chest route during the tail end of a boosted cycle, squeezing extra value from the same heat-resist gear loadout before the hazard intensity drops.
| Day | Rotation State | Volcano Priority |
|---|---|---|
| 1-2 | Standard | Learn route, farm basic ores |
| 3-4 | Boosted | Prioritize rare ore nodes and mob drops |
| 5 | Suppressed | Safe window for new players or alt accounts |
| 6-7 | Event-modified | Squad up, bring max heat-resist gear |
This schedule is a starting framework, not a fixed rule. The actual rotation timing varies by server and patch, so players should verify the current state by observing the volcano's smoke density and sky tint before committing to a full farming run. The volcano zones breakdown maps out the specific ore node clusters and camping spots within the biome, which helps you maximize every boosted window.
Frequently Asked Questions
Where exactly is the volcano in 99 Nights in the Forest?
The volcano sits in a fixed high-elevation corner of the map, reachable by passing the Saw Mill, crossing the transition strip, and curving left at the temple location. The route climbs steadily after the temple, and the orange sky glow confirms you are close.
How do I know if I am heading toward the snow biome instead?
The snow biome path levels out after the saw mill and leads toward a frozen pond, while the volcano route keeps climbing. Frosted ground and pale sky tint mean you have drifted toward the snow zone, not the lava biome.
Does the volcano move between game sessions?
No. The biome rotation system changes hazard intensity and loot modifiers, but the volcano's geographic position stays fixed. Players who cannot find it are usually misreading the transition zone cues rather than dealing with a relocated biome. A common mistake is mistaking the Saw Mill's back loading dock for the transition strip — the dock's orange-tinted machinery lights can resemble the volcano's sky glow from a distance, causing players to loop back toward the snow biome path instead of continuing past the temple location.
What is the fastest route to the volcano?
The fastest route cuts through the Saw Mill interior and exits through the back loading dock, skipping roughly two minutes of forest traversal. This shortcut carries extra threat risk during boosted rotation windows, so newer players should use the standard temple route instead.
What should I bring for my first volcano trip?
Bring heat-resist consumables, a mid-tier axe or pickaxe, an upgraded light source, and a defensive item to survive Ram charges. Edge-farming near the transition strip works as a safe fallback if you arrive without full heat-resist gear.