
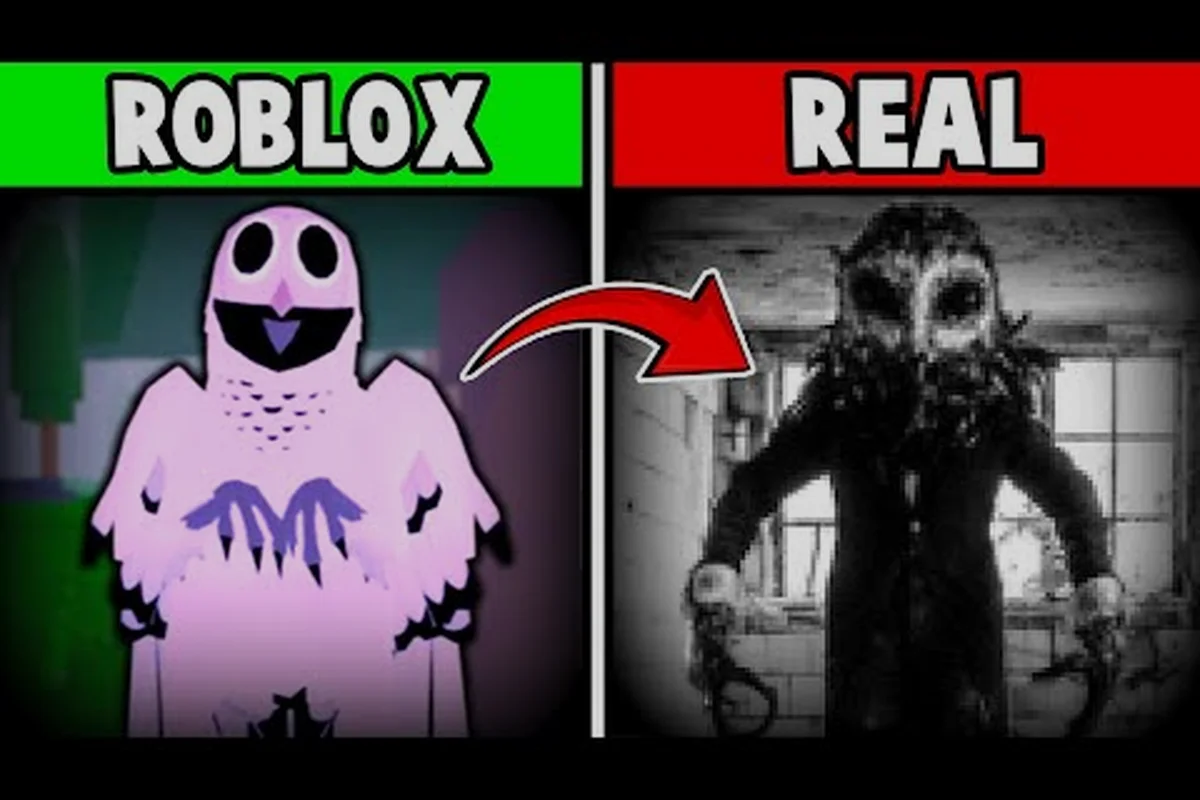
The Owl is one of the most misunderstood threats in 99 Nights in the Forest, because most players treat it as an environmental hazard rather than a killable target. Learning how to kill the Owl changes your entire night cycle, since removing the aerial detector opens up movement routes that would otherwise trigger an instant swarm response. This guide breaks down the exact flashlight stun window, the damage phases, and whether the fight is actually worth the risk based on your current class and gear.
Understanding the Owl's Detection and Attack Behavior
The Owl operates on a completely different logic loop than ground-based monsters, which is why so many players struggle to even land a hit on it. While the Deer relies on line-of-sight and the Ram uses charge momentum, the Owl functions as a mobile detection beacon that punishes players for using light sources at the wrong moment. Understanding this behavior is the first step toward killing it consistently.
The Owl spawns on specific nights and patrols a wide airspace above the forest canopy, tracking players through a combination of light sensitivity and movement detection. When you hold a flashlight, torch, or any other bright item, the Owl locks onto your position and begins a dive sequence. This dive is not instant damage — it is a telegraphed attack with a clear audio cue and a brief pause before impact.
| Owl Behavior Phase | Trigger Condition | Player Response Window | Consequence of Failure |
|---|---|---|---|
| Patrol | No light source active | Full movement freedom | None |
| Detection | Light source held for 2+ seconds | 1.5 seconds to extinguish | Dive attack begins |
| Dive Wind-Up | Detection confirmed | 0.8 seconds to reposition | Direct hit |
| Impact | Dive completes | None | Heavy damage + bleed |
| Recovery | After impact or miss | 3 seconds of vulnerability | Missed damage opportunity |
The key insight from community testing is that the Owl's dive recovery phase is the only reliable window to deal damage. When the Owl misses its dive — either because you extinguished your light or strafed at the right moment — it lands briefly on the ground or hovers at low altitude for roughly three seconds. During this window, the Owl cannot initiate another detection cycle, which means you can safely turn your light back on and attack.
Why Most Players Never Realize the Owl Can Be Killed
The misconception that the Owl is invincible comes from how the game presents the encounter. Unlike the Deer, which has an obvious health bar and a dramatic jumpscare, the Owl never displays a visible health indicator during its patrol phase. Players who shoot arrows or swing melee weapons during the patrol phase deal zero damage, because the Owl's hitbox is only active during the recovery window.
This design choice creates a natural filter: players who panic and attack immediately waste resources, while players who observe the pattern learn that patience is the actual weapon. The Owl's health pool is relatively small compared to other monsters, but the narrow damage window makes the fight feel longer than it actually is.
The Flashlight Stun Trick and Damage Phases
The flashlight stun trick is the core mechanic that turns the Owl from an untouchable threat into a farmable target. The trick exploits the Owl's light-detection logic by using your flashlight as bait rather than as a navigation tool. When executed correctly, you force the Owl into a predictable dive, dodge the impact, and then unload damage during the recovery phase.
Here is the step-by-step sequence that experienced players use to kill the Owl consistently:
-
Step 1: Clear the area. Remove any ground monsters from your immediate vicinity before starting the bait, because the Owl's dive will force you to strafe and you do not want to back into a wolf or cultist.
-
Step 2: Stand in open terrain. The Owl's dive path is easier to predict when there are no trees or rocks blocking your sidestep. Position yourself in a clearing with at least five meters of lateral space.
-
Step 3: Activate your flashlight. Hold the light steady for two full seconds to trigger the detection phase. Do not move during this window, because movement can cause the Owl to abort the dive.
-
Step 4: Listen for the audio cue. The Owl emits a distinct screech right before the dive begins. This is your signal to prepare for the sidestep.
-
Step 5: Strafing and evasion. The moment the Owl starts its dive, strafe hard to the left or right. The dive has a narrow hitbox, and a single well-timed sidestep is enough to avoid the impact.
-
Step 6: Turn the light back on. During the recovery phase, the Owl is vulnerable. Turn your flashlight back on to maintain visibility, then switch to your highest-damage weapon.
-
Step 7: Unload damage. You have roughly three seconds to deal as much damage as possible. Ranged weapons are ideal here, but a high-damage melee swing also works if you are close enough.
Damage Phase Breakdown and Weapon Selection
The Owl's recovery window is short, which means your weapon choice matters more than your raw stats. Fast-attacking weapons with high burst damage outperform slow, heavy weapons because you simply do not have time to complete a slow swing animation before the Owl returns to patrol altitude.
| Weapon Type | Damage per Recovery Window | Reliability | Recommended Classes |
|---|---|---|---|
| Bow with fire arrows | High | Medium | Hunter, Ranger |
| Fast melee (dagger, shortsword) | Medium | High | Assassin, Scout |
| Heavy melee (axe, hammer) | Low | Low | Tank, Brute |
| Throwing items | Medium | Medium | Any class |
| Magic or ability burst | Very High | High | Mage, Shaman |
The Bow with fire arrows is the community-preferred option because it deals damage over time in addition to the initial hit, which effectively extends your damage window beyond the three-second recovery phase. If you do not have access to fire arrows, a fast melee weapon with a critical hit chance modifier is the next best choice.
Comparing the Owl to Other Killable Monsters
Understanding how the Owl fits into the broader monster ecosystem helps you decide whether the fight is worth your time. The Owl is not the only monster that players mistakenly believe is unkillable — the Deer has a similar reputation, though for different reasons. Comparing the two encounters reveals important differences in risk, reward, and execution difficulty.
| Monster | Killable? | Primary Mechanic | Damage Window | Reward Tier |
|---|---|---|---|---|
| Owl | Yes | Light-based detection | 3-second recovery | Medium |
| Deer | Yes | Line-of-sight jumpscare | After failed jumpscare | High |
| Ram | Yes | Charge momentum | After wall impact | High |
| Cultist | Yes | Swarm coordination | Continuous | Medium |
| Wolf | Yes | Pack hunting | Continuous | Low |
The Deer fight, which is covered in detail in the Deer encounter guide, requires you to survive the initial jumpscare before you can deal damage. The Owl fight is actually easier in terms of raw mechanics, because the dive is more telegraphed and the recovery window is longer. However, the Owl's aerial mobility makes it harder to track, which adds a layer of difficulty that the Deer does not have.
When the Owl Fight Is Worth the Risk
The decision to engage the Owl should be based on your current run state, not on a blanket rule. Killing the Owl consumes resources — arrows, healing items, and time — and the reward is not always worth the investment. Here is a breakdown of when the fight makes sense:
-
Early game (nights 1-10): Skip the fight. Your weapons are too weak to deal meaningful damage during the three-second window, and the risk of taking a dive hit is too high.
-
Mid game (nights 11-30): Engage selectively. If you have a bow with fire arrows and at least one healing item, the fight is worth attempting for the feather drops and the practice.
-
Late game (nights 31+): Farm the Owl. By this point, your damage output should be high enough to kill the Owl in two or three recovery windows, and the drops are valuable for crafting.
Owl Drops, Crafting Value, and Taming Considerations
The Owl drops a specific set of items that feed into the crafting and taming systems. Understanding what you get from the kill helps you decide whether the fight aligns with your current progression goals. The drops are not as flashy as the Deer's, but they have consistent utility across multiple crafting recipes.
| Owl Drop | Rarity | Primary Use | Secondary Use |
|---|---|---|---|
| Owl Feather | Common | Arrow crafting | Trade with Pelt Trader |
| Night Essence | Uncommon | Potion brewing | Class ability upgrade |
| Owl Talon | Rare | Weapon upgrade | Badge progression |
| Glowing Eye | Very Rare | Special recipe | Secret badge trigger |
The Owl Feather is the most consistent drop and feeds directly into arrow crafting, which creates a self-sustaining loop: you use arrows to kill the Owl, and the Owl drops feathers to craft more arrows. This loop is one of the reasons why late-game players farm the Owl aggressively.
Can You Tame the Owl Instead of Killing It?
A common question from players is whether the Owl can be tamed using the Taming Flute. The answer is no — the Owl is not a tamable creature in the current version of the game. The taming system, which is explained in the animal taming guide, applies to ground-based creatures like wolves, bunnies, and the Ram, but the Owl's aerial nature and detection-based AI make it incompatible with the flute mechanic.
This distinction matters because some players waste a Taming Flute charge trying to tame the Owl, only to discover that the item has no effect. If you want a flying companion, the Owl is not the answer — you are better off focusing on ground-based tames that provide combat support or resource gathering.
Monster Attack Patterns and the Ram Charge Comparison
The Owl's attack pattern is fundamentally different from the Ram's charge attack, and understanding both helps you develop better overall combat instincts. The Ram, which is covered in the Ram encounter guide, uses a linear charge that can be dodged by strafing perpendicular to the charge path. The Owl's dive is similar in that it is a linear attack, but the Owl approaches from above, which changes your dodge timing.
| Attack Pattern | Owl Dive | Ram Charge | Deer Jumpscare |
|---|---|---|---|
| Approach direction | Vertical (from above) | Horizontal (ground level) | Direct line-of-sight |
| Telegraph | Audio screech | Visual wind-up | Visual distortion |
| Dodge method | Sidestep left or right | Perpendicular strafe | Break line-of-sight |
| Post-attack vulnerability | 3 seconds | 2 seconds | 2.5 seconds |
| Damage type | Bleed | Impact | Fear + damage |
The key difference is that the Owl's dive requires you to track a moving target in three-dimensional space, while the Ram charge is entirely ground-based. Players who struggle with the Owl often have difficulty judging the dive's timing, which is why the audio cue is so important — it gives you a consistent reference point that does not depend on visual tracking.
Building Combat Instincts Across Monster Types
The best way to improve your Owl kill consistency is to practice against multiple monster types and internalize the shared patterns. The Ram charge attack, for example, teaches you the value of perpendicular strafing, which carries over directly to the Owl's dive dodge. The Deer's jumpscare teaches you to respect line-of-sight mechanics, which helps you understand why the Owl punishes light usage.
Community reports from the official Discord suggest that players who master all three encounters — Owl, Deer, and Ram — tend to survive significantly longer in late-game nights, because they have developed a complete toolkit of evasion responses rather than relying on a single dodge pattern.
Frequently Asked Questions
Can you actually kill the Owl in 99 Nights in the Forest?
Yes, the Owl is killable, but only during its three-second recovery window after a missed dive. You must bait the dive with a flashlight, dodge the impact, then attack while the Owl is grounded. Attacking during the patrol phase deals zero damage because the hitbox is inactive.
What is the best weapon to kill the Owl?
A bow with fire arrows is the community-preferred option because the damage-over-time effect extends your effective damage window beyond the three-second recovery phase. A fast melee weapon with critical hit modifiers is the next best choice if you do not have fire arrows.
Does the Owl drop anything valuable?
The Owl drops Owl Feathers, Night Essence, Owl Talons, and the rare Glowing Eye. Owl Feathers are the most consistent drop and feed directly into arrow crafting, creating a self-sustaining farming loop. The Glowing Eye is tied to a secret badge trigger.
Can you tame the Owl with the Taming Flute?
No, the Owl is not a tamable creature in the current version of the game. The Taming Flute only works on ground-based creatures like wolves, bunnies, and the Ram. Using a flute charge on the Owl has no effect and wastes the item.
Is killing the Owl worth the risk in the early game?
No, early-game players should skip the Owl fight because their weapons are too weak to deal meaningful damage during the short recovery window. The fight becomes worth attempting in the mid game once you have a bow with fire arrows and at least one healing item.